|
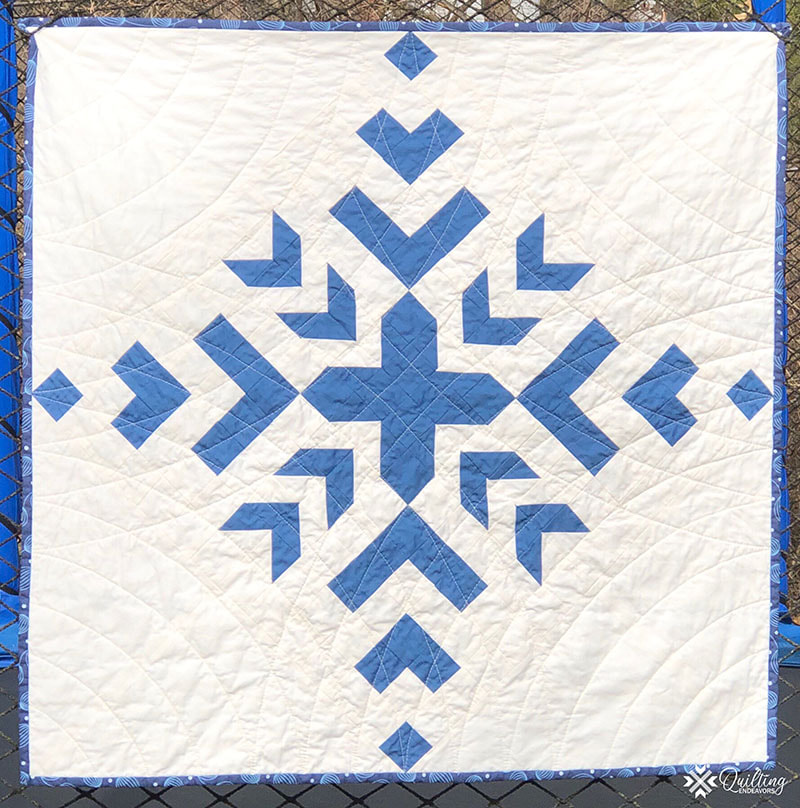
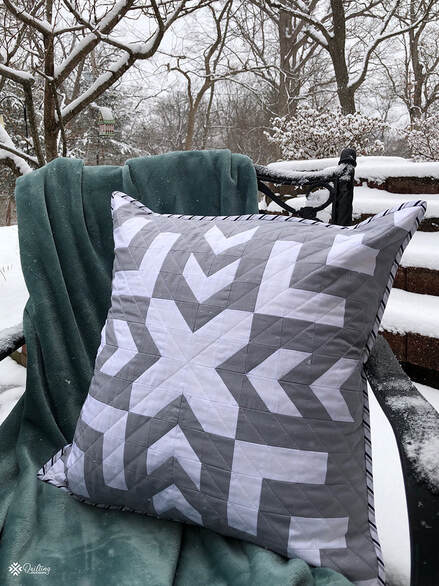
I might be a little late with my Snowflake pillow cover since we’re already into the beginning of February, but as it won’t be another month or two before spring arrives, I thought I would share this pretty pillow cover with you. Back in January of 2020 I made the Snowflake Wall quilt in blue and white. I wanted to make a pillow cover of it too, but never got around to it until now. I used the same pattern, just on a smaller scale. I also turned the design so it was not set on point. (In case you’re wondering, “on point” means the block or blocks are positioned on the diagonal.) The first two photos are from a year ago. This is a fairly simple pattern consisting mostly of squares and a few half square triangles. Since the squares are so small (2x2 inches), I had to be very precise in constructing it. The seam lines needed to match up, otherwise the end result would have looked crooked. For the top of the cover I used Robert Kaufman’s Kona in White and Iron. I wanted the snowflake to stand out, thus the neutral, solid colors. Once I was done with the top, I layered it just like with a regular quilt. Then I machine-quilted diagonal lines radiating from the center, using white thread. I used Kona White for the back of the cover and gave it a simple envelope style opening. This way you can still take it off when in need of a wash. Once I was done with the pillow cover’s backing, I added the binding. I used Riley Blake’s Something Borrowed - a navy and gray chevron stripe which complements the diagonal quilting lines. I used a slightly bigger pillow insert (22x22 inches) for a plump look. Pillow dimensions: 21 x 21 inches (53.5 x 53.5cm) Last but not least, part 2 of How to make a quilt is now available under the tutorials page. I’ve shared some quilting tips I’ve learned over the years, as well as a tutorial on how to make a beginner-friendly doll quilt.
0 Comments
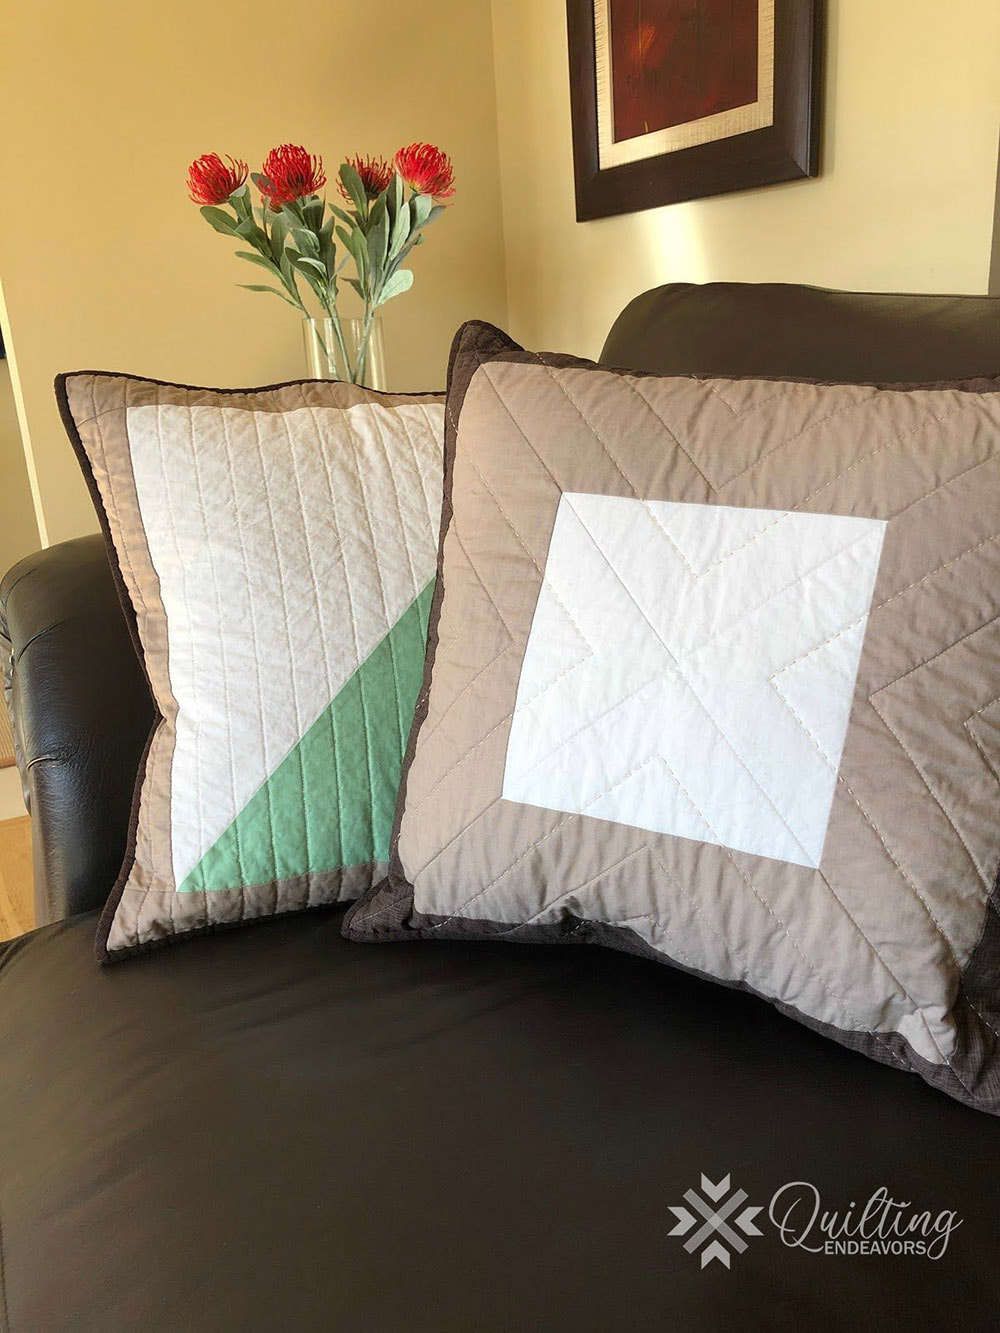
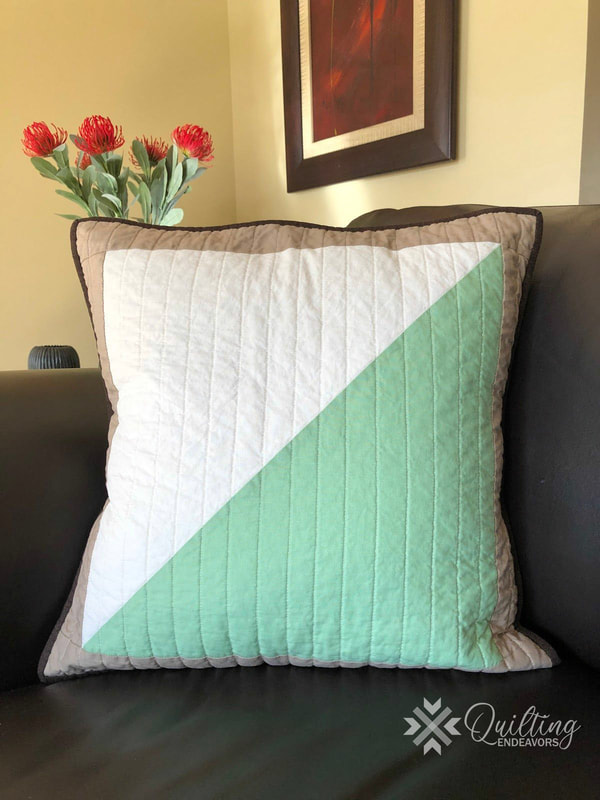
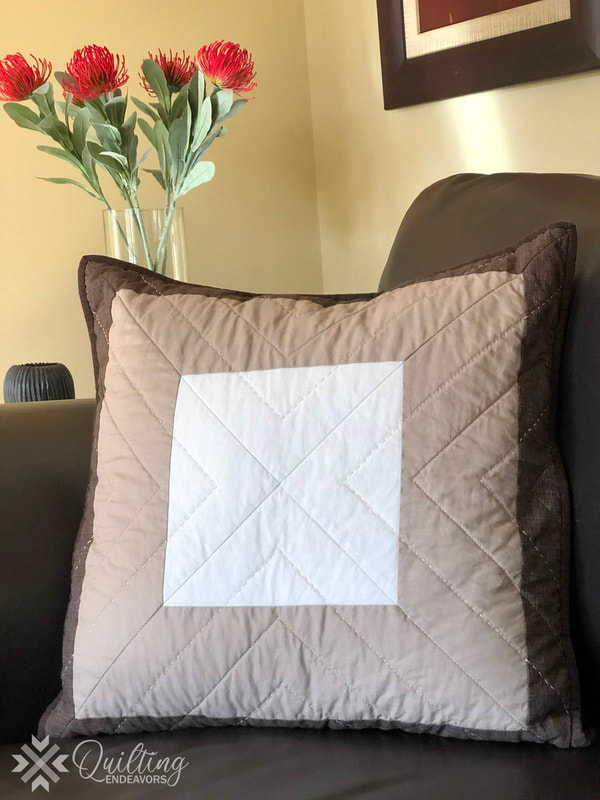
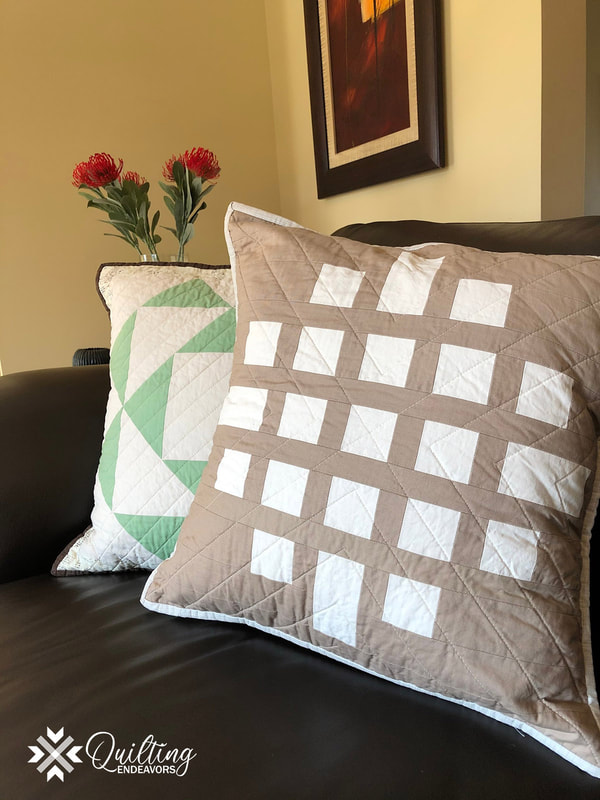
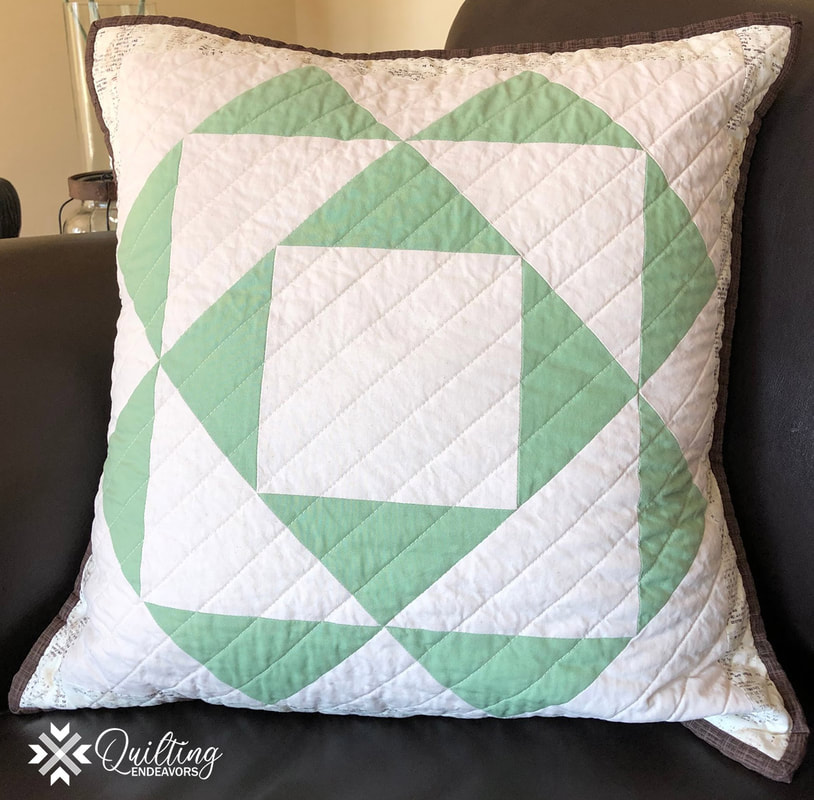
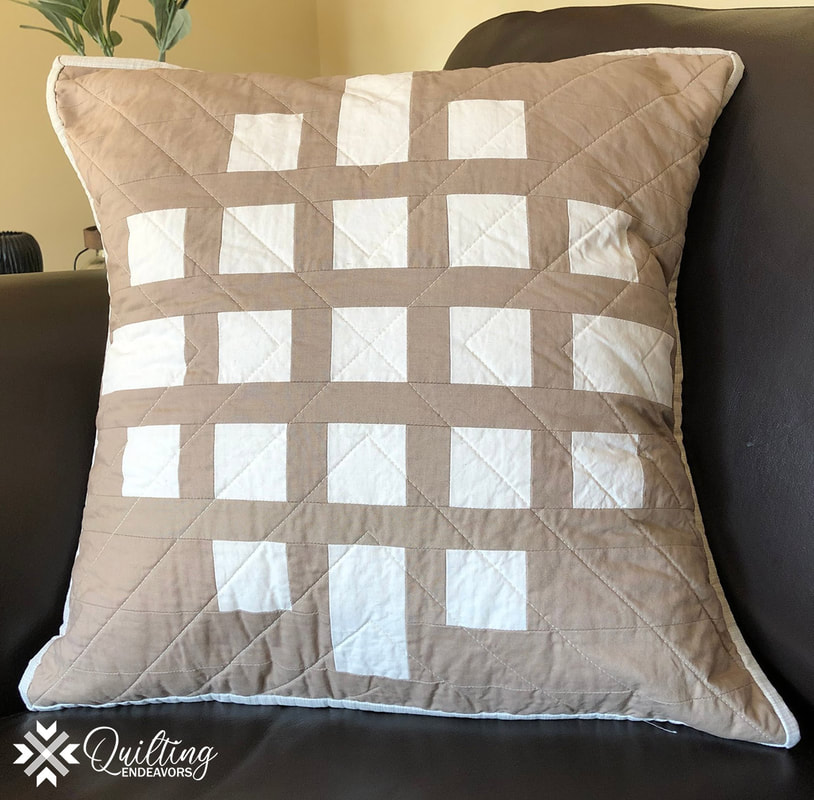
New pillows are an easy way to breathe new life into a room. Since spring is around the corner, I felt like our living room needed a few new touches. So I came up with these two easy pillow designs. I decided to stay with our neutral color scheme of brown and beige, and added spring green. For the first pillow I used Robert Kaufman’s Kona solids in Natural, Cobblestone and Spring. After I finished the pillow top, I machine quilted parallel lines all over using beige quilting thread, about an inch apart. For the back of the pillow cover I made a simple envelope style backing. Once I finished that I completed the pillow by adding the binding. I used Essentials Criss Cross Texture Burnt Browns by Graphic 45 for Wilmington Prints. For my next pillow I used Robert Kaufman’s Kona solids Natural and Cobblestone again, as well as a textured brown from my fabric stash. Unfortunately I don’t have the name of that anymore. Once I pieced the pillow top, I machine and hand quilted the top. I love the look of big quilting stitches, so I alternated it with machine stitches. I used beige DMC cotton perle 8 for the hand quilting and beige quilting thread for the machine quilting. For the back of the pillow cover I made a simple envelope style backing again. I used Essentials Criss Cross Texture Burnt Browns by Graphic 45 for Wilmington Prints for the binding. There you have it! Two new pillows! While I was at it and in a pillow-making mood, I made two more pillows! I figured you can never have enough, right? The comfy and soft type that invites you to sit, relax and drink a cup of coffee. Or maybe take a nap.
|
AuthorHello and welcome, my name is Tineke (pronounced Tee-neh-keh). I’ve been sewing since I was little, first by hand, then by using my grandma’s hand crank sewing machine and eventually my mom’s electric sewing machine. Follow me
Categories
All
|


